Five Steps to Auto Layout Heaven
How I Learned to Stop Worrying and Love the Safe Area
Posted on by Agnes Vasarhelyi
Ever since I put the effort into understanding Auto Layout, I’m significantly faster at writing correct UI code, sometimes even on the first try. Auto layout also saves me from potential errors from dealing with multiple size classes and frequent churn in our app’s design (we’re a startup, after all).
One alternative is traditional frame-based layouts, but they require manual updates for every single external change.
Another option is autoresizing masks, but they only support a limited number of simple layouts and view-to-superview relationships.
With Auto Layout, you’re able to create clean and reliable layout code no matter how complex your interface is. Here are five steps to take you to an improved UI coding life with Auto Layout.
1. Forget about frames, get your constraints together
Auto Layout is a set of constraints defining the location and size of views on an interface. Meaning, instead of defining the frames of your views in a hierarchy, you express their relationship to each other.
If your layout code is correct, everything will look as expected, no matter the internal, or external changes that might happen to them at runtime. Internal changes include things like content changes in a superview; external changes include things like device rotation or double-height status bar.
You have to build up a valid and non-ambiguous relationship for every critical attribute of a view in the layout, meaning every view needs to know its location and size somehow.
Critical attributes
- Location
- Size
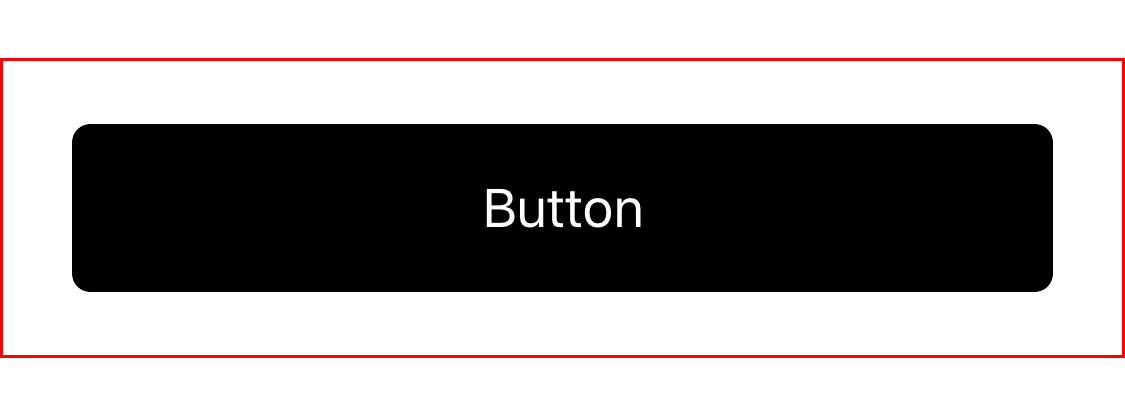
There are several ways to make sure you provide the required constraints for both location and size. For instance, adding both leading and trailing constraints implicitly defines the width if the view it’s constraining to has a defined width. The view will stretch between those two locations. Similarly, adding top and bottom constraints will provide enough information to resolve vertical position and height, as long as the view it’s constraining to has defined top and bottom.
|
|
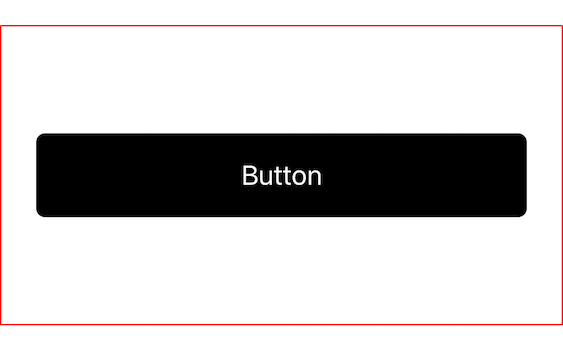
You can get the same layout in different ways; for example, you could set centerYAnchor for position along with a heightAnchor for size.
Make sure to understand the difference though. When external changes occur to your view, e.g. myView gets taller, relying on the top and bottom constraints will make the button stretch.
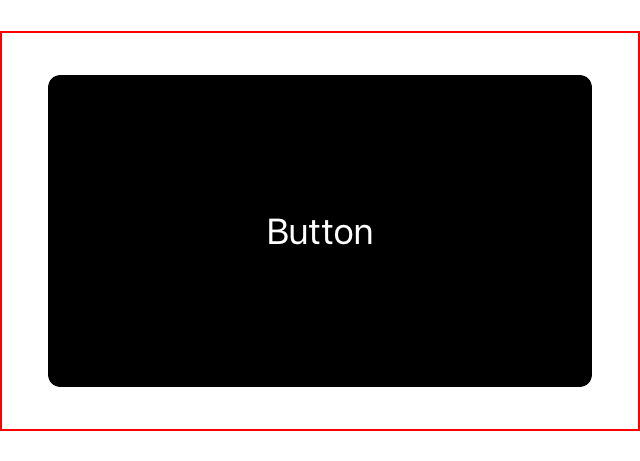
In the second case, it will preserve its height and always position itself vertically to the center.
Correctness
When using Auto Layout, the goal is to provide a series of equations that have one and only one possible solution. (Apple docs)
As with many things in programming, your goal should be correctness when it comes to layout. Make sure to address any Auto Layout errors or warnings on the console. Remember, if you get it right, you have it all, but while it’s broken, you have nothing.
Here are some common Auto Layout problems you may run into:
Ambiguity
Ambiguous constraints have more than one possible solution.
Sometimes you might not have enough constraints for Auto Layout to determine size or location. In this case, you will have to add more constraints to uniquely specify the required attributes for every view. Xcode spits out a whole bunch of complaints, noting where your layout is missing attributes. 👍
Unsatisfiable constraints
Unsatisfiable constraints don’t have valid solutions.
Sometimes you have too many constraints. So many, in fact, that they conflict with one another! In this case, you need to revisit, and remove the unneeded constraints.
translatesAutoresizingMaskIntoConstraints = false
Never ever forget to set this flag for all the views you want to involve in your layout definitions. It is true by default, and if not set to false, your constraints will be in conflict with the ones translated from the default autoresizing masks. It’s usually a painful realization when forgotten, after debugging mysterious layout errors for a while.
tfw every stack overflow answer suggests setting translatesAutoresizingMaskIntoConstraints to false
— Greg Heo (@gregheo) January 4, 2018
From design to development, consistency all the way ✅
Auto Layout as a paradigm is also consistent with how designers think about layout. All numerical values I apply to the layout code these days are copy-pasted paddings from Zeplin, where designers share their final work with us, developers. We’re on the same page now. 💞
2. Know how to activate your constraints
Depending on where you add the constraints, you are able to define internal and external relationships for a view. This makes a very important difference in some cases, that you’d normally not want to deal with.
That’s why NSLayoutConstraint.activate() is the recommended way to install constraints. In the old days, you added constraints to views directly but then you had to worry about the fact that those constraints could only apply to the receiver subtree.
In the modern world you should let the Auto Layout system decide what view to attach constraints to by using NSLayoutConstraint.activate().
3. Make safe area your best friend 🐶
With safe areas, you don’t have to care about what’s outside of them.
A safe area defines the part of the interface where you’d normally want to add views and other content. Safe areas play well with Auto Layout because you can define constraints to the safe area margins. No matter what external changes happen to your layout, like a navigation bar being suddenly hidden, it’s not your job to figure out how to accommodate the changes.
Anything you tie to the safe area stays within the safe area. It’s now more important than ever before, because the iPhone X’s top and bottom “unsafe” areas cannot be calculated from just knowing how tall a navigation bar is, which used to be good enough to work with.
iOS 11, but all devices
Safe areas are new in iOS 11 and I initially thought they were defined for the iPhone X only. Turns out, they’re not!
If you still support iOS 10, you can use OS availability calls around your safe area code and then use good old UILayoutMargins otherwise.
|
|
When you drop compatibility of some OS version, you can remove those code paths. This is much simpler than keeping track of individual devices.
Navigation bar, status bar
The navigation bar and status bar are both part of the unsafe area. If you print out the safe area’s insets while presenting a navigation bar and a status bar on a view controller, it’ll say something like 64 (navigation bar 44 + status bar 20) for top and zero for bottom for non-iPhone X devices.
In theory, it should define the exact same area as layout margins would, in case of non-X devices.
Scrollable views
It was a big debate at the office that once again Alexis won, when I was struggling with a fairly complicated nested scroll view setup. He said he would expect a scroll view to be aware of the safe area by providing default insets to adjust to it. He was totally right, and so make sure to read how it works in iOS 11. Basically, there’s a flag named contentInsetAdjustmentBehavior that tells whether the given UIScrollView instance does that, or not.
4. Use UILayoutGuide for more complex layouts
When trying to achieve something more complex, you can create your own layout guides. These come in handy when trying to eliminate hard-coded magic numbers from your layout code to make your code easy to understand, easy to change, and less likely to break when circumstances change.
Dropping “dummy views”
Imagine UILayoutGuide almost as a view that’s invisible, except it’s not in the view hierarchy. Most of the times, you would create a “dummy view” for the purpose of positioning or sizing a view easier, relatively to that helper view.
Let’s see our example:
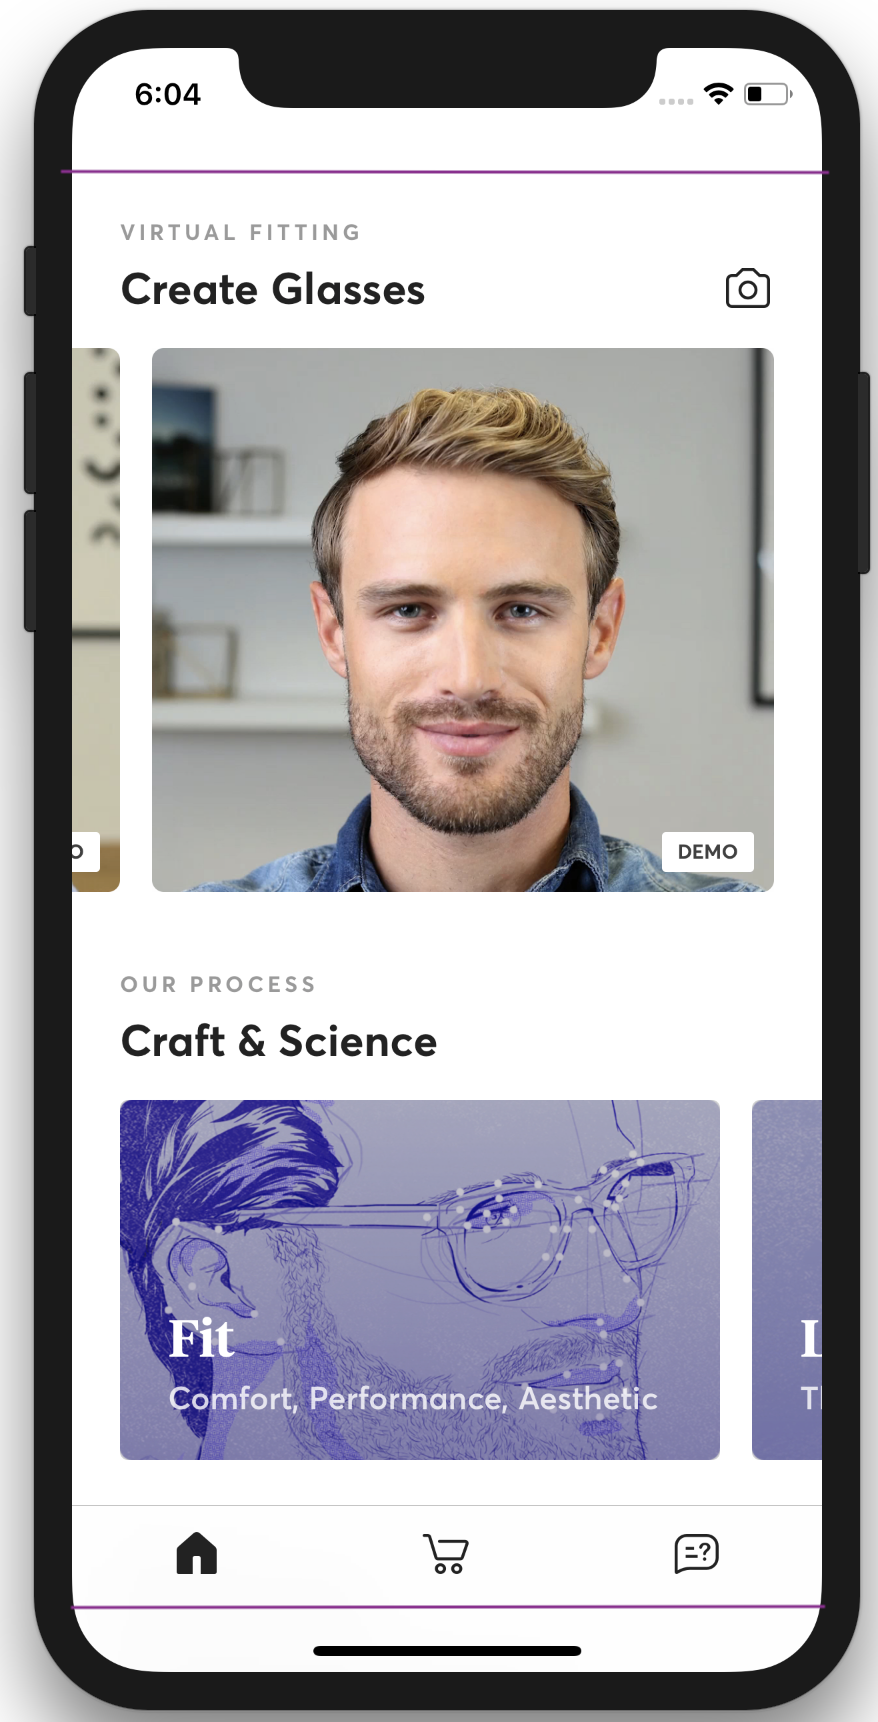
We wanted a constraint that expresses the height of the safe area plus the height of the bottom unsafe area, which is the bottom safe area inset’s height. That constraint would be there to provide the height constraint of the bottom part of the whole vertically scrollable area what we call the Try-On/Product Info, see the video above. The top view being Try-On, the AR view of your face with our glasses on, and the Product Info at the bottom, that provides content on frame styles, lenses, materials, etc. We wanted to extend the Product Info view into the bottom unsafe area, to make it scroll underneath it.
The first take on that could be:
|
|
Dropping layout change callbacks
Because view.safeAreaInsets might change over time, you would need to update the constant of this constraint when that happens. iOS provides a callback for that purpose.
|
|
This is one way to go about it, but this is something that’s non-trivial to understand by just looking at the code. Following the Auto Layout guru, Alexis’s suggestions, we went ahead and defined a UILayoutGuide for the same purpose.
|
|
Now you have a layout guide that has the height of the safe area plus the bottom unsafe area. That height is now used to define myView‘s height, without having to store and update constraints later.
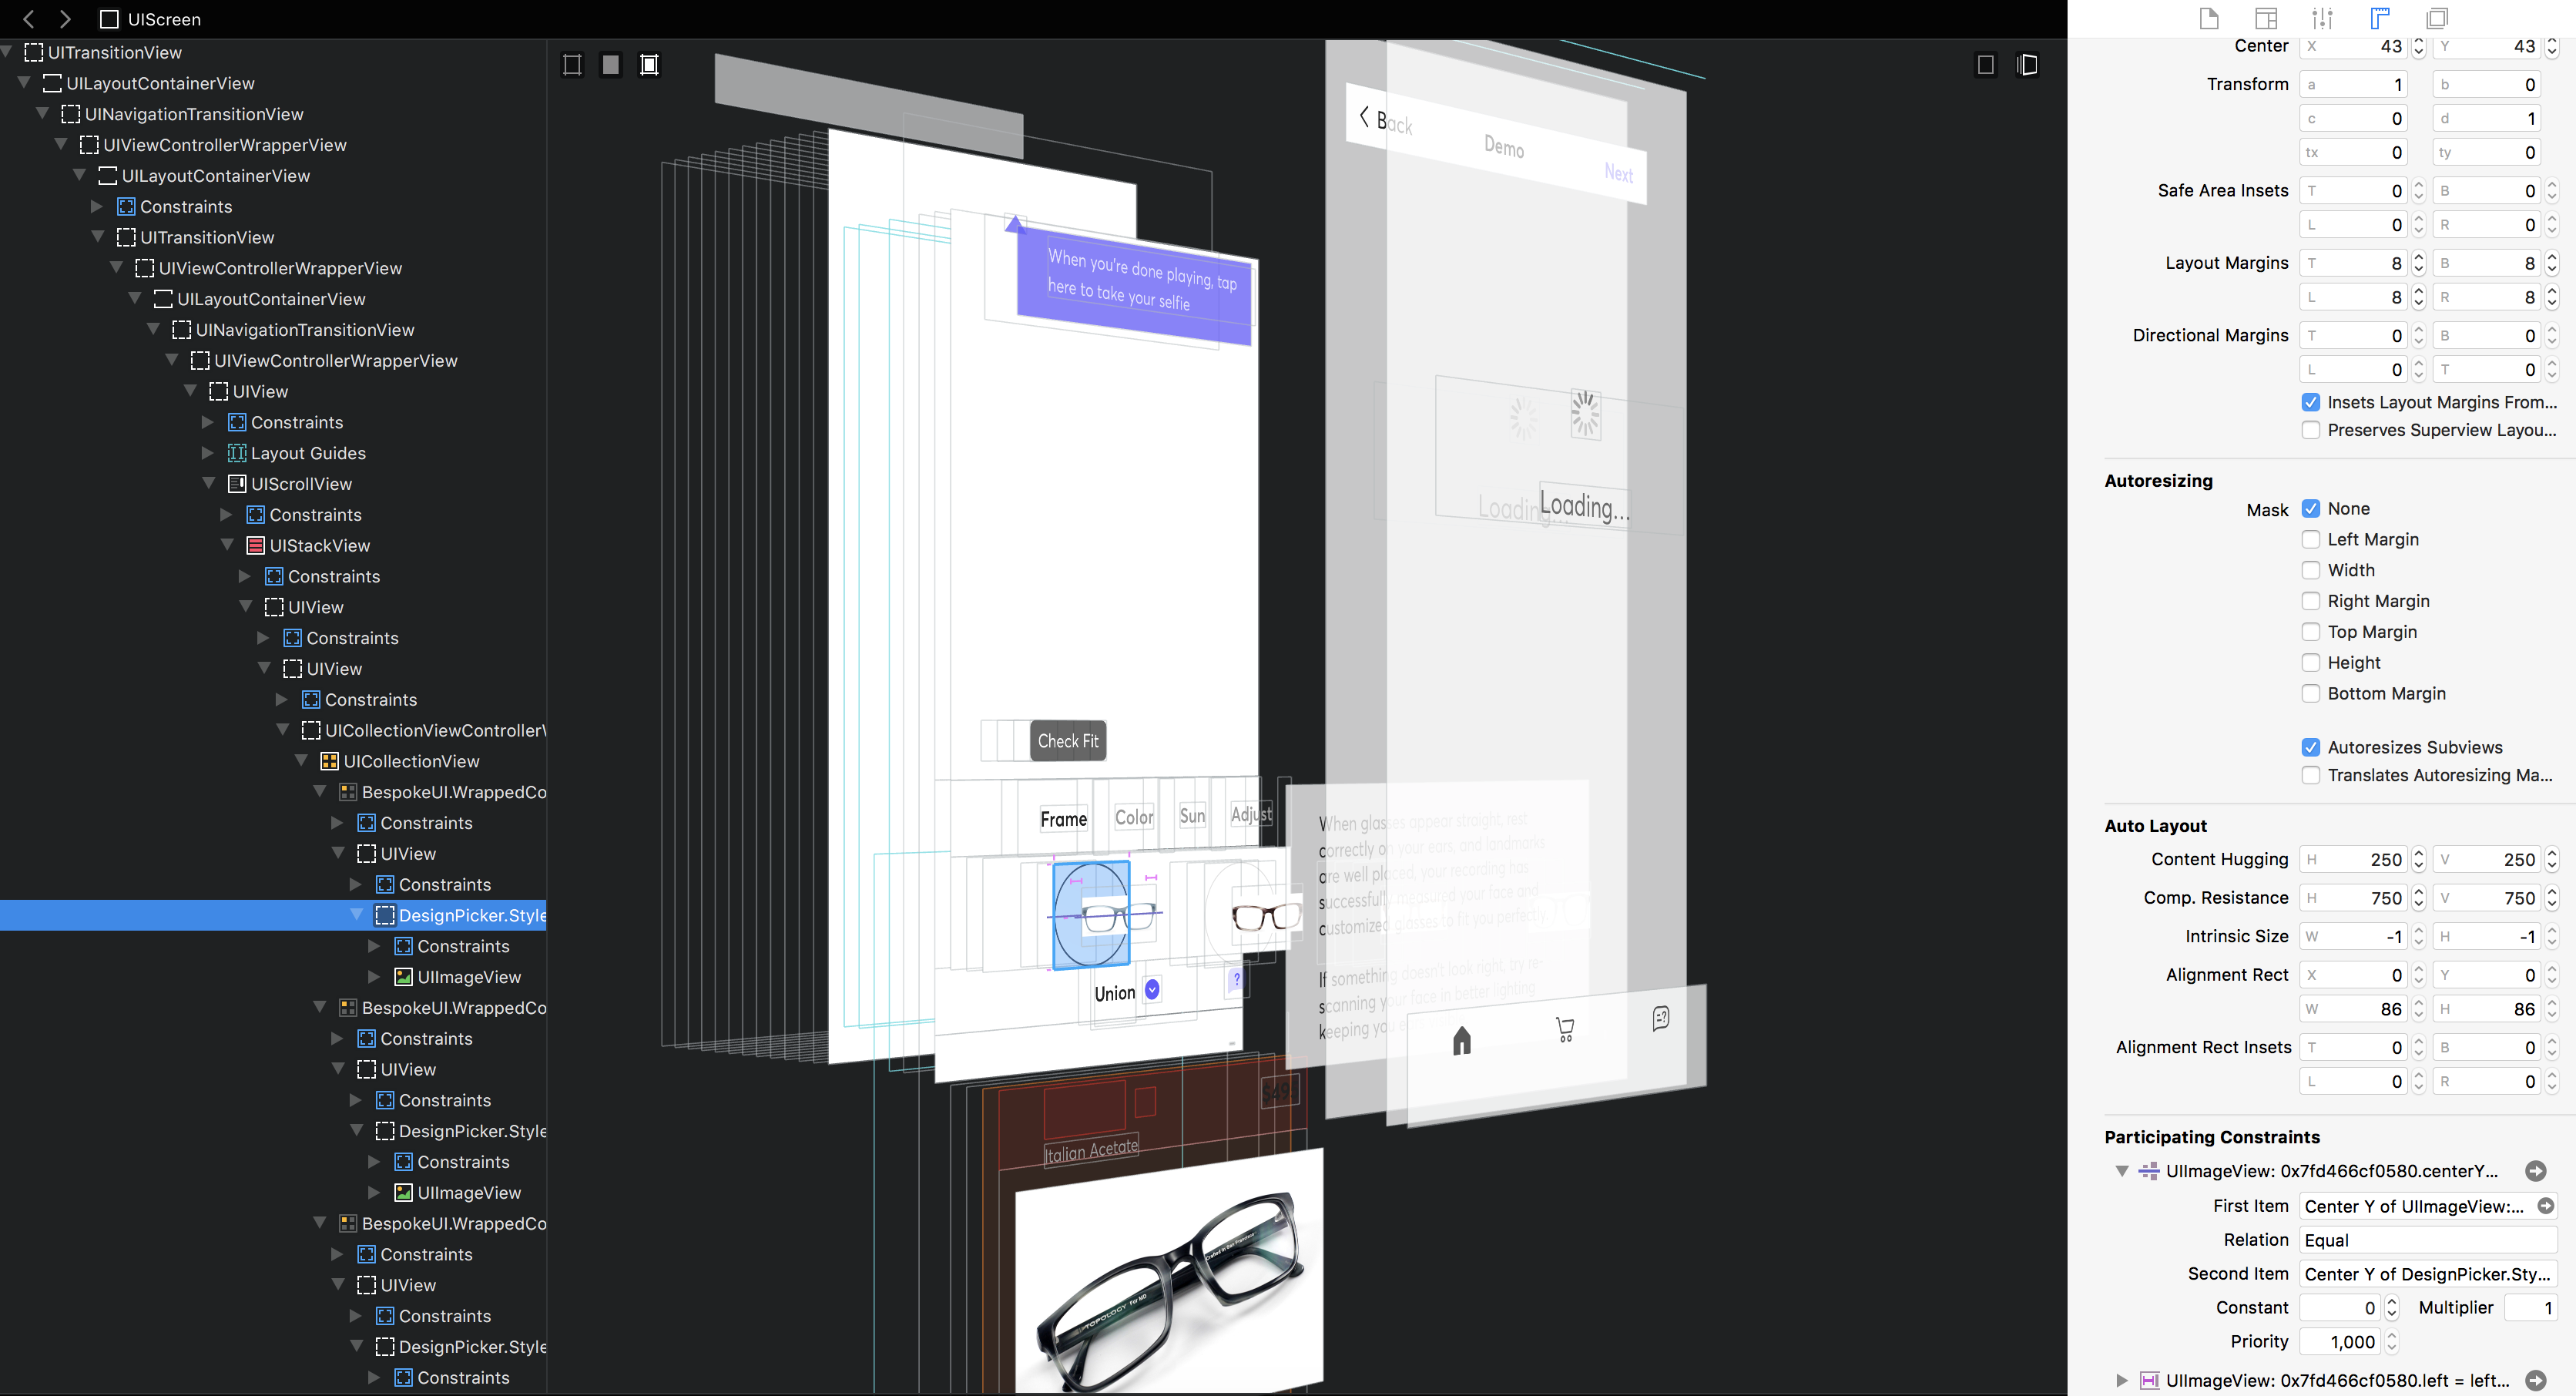
5. Get your visual debuggers running 🛠
For the times when you’re not entirely sure what’s going on, there are tools to help with debugging your issues. You can browse views visually, look up constraints, frames, or memory addresses, which have all been super helpful many times in the past.
There’s the Xcode visual debugger, and also Reveal, that we’re using day to day.
Auto Layout Heaven
Honestly, I couldn’t go back to the way I was writing layout code before. I was mixing autoresizing masks with Auto Layout, sometimes just specifying frames when that seemed to be enough. It was always tons of work to write, and painful to maintain.
Also there is so much more to this topic. The slightly controversial UIStackView, content hugging priorities, modifying constraints on the fly, and more. If there’s interest out there, I could write a second part to this article. Let me know!
If you have any questions about Auto Layout, or how to do this, how to fix that, I’m happy to help! 🙋🏻 You can find me as @vasarhelyia on Twitter. DMs are open, too. 📨
Special thanks to my team of @alexisgallagher, @gregheo and @petergarbers for reviews and edits! You’re the best team. 💗